今日はデーターベースサーバの MySQL。今じゃオラクルさんが所有しているデーターベースです。
無料のデータベースとしては PostgreSQL とこの MySQL が流行っていて、いっときは PostgreSQL が優勢ではあったのですが、いつの間にか MySQL が優勢になり、無料のデータベースは MySQL が主流になりました。
秋田も最初は PostgreSQL とか使ってましたが、最近ではすっかり MySQL。Windows にも Mac にも入るので、ちょいちょい便利に使わせていただいております。
そんな可愛い存在の MySQL を AWS の Ubuntu にインストールしてみます。

MySQL をインストールする
$ sudo apt update
$ sudo apt install mysql-server mysql-client
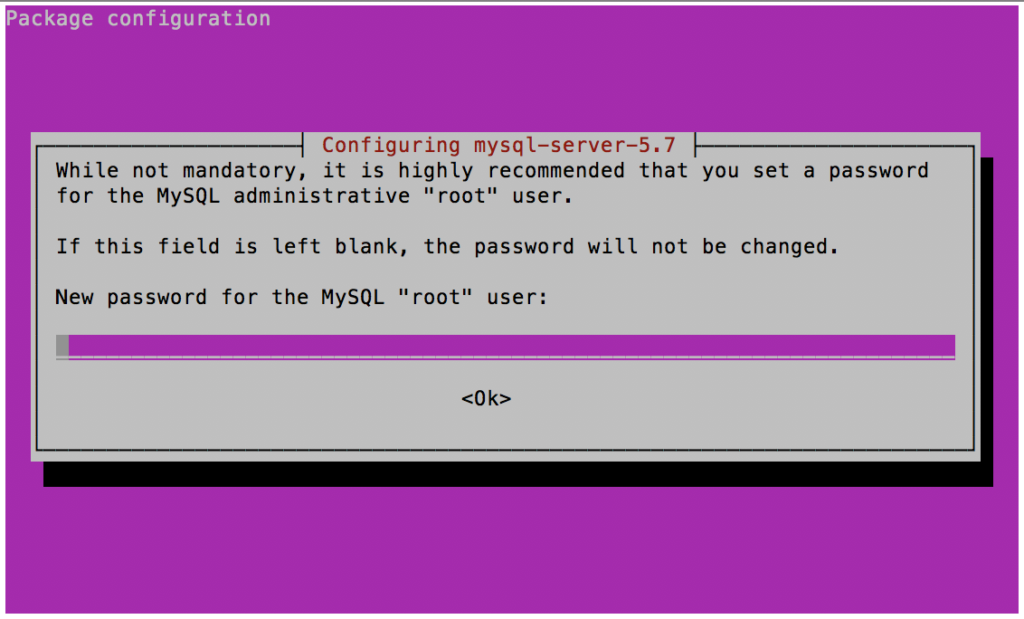
root のパスワードを求められるので入れる。
今回は「ubuntumysql」とする。実際にはもっと複雑なパスワードにしなきゃダメ。

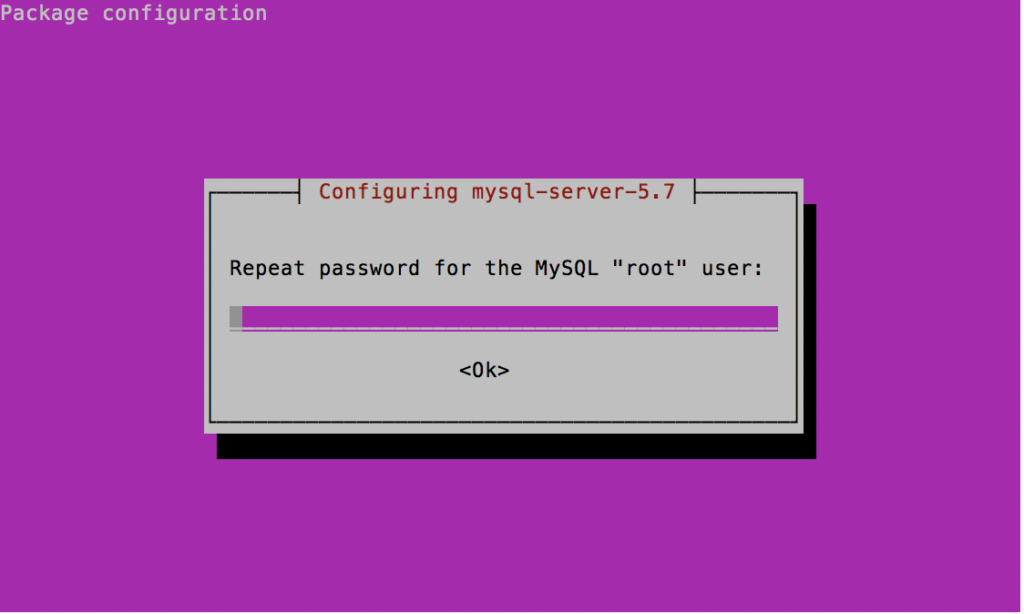
確認画面が出るのでこちらも入力

わらわらとインストールが完了する。
確認してみる。
$ ps -ax | grep mysql
4644 ?        Ssl    0:01 /usr/sbin/mysqld
5684 pts/0    S+     0:00 grep --color=auto mysql
MySql がインストールされて起動された。
MySql に入ってみる。
$ mysql -u root -p
Enter password:
Welcome to the MySQL monitor.  Commands end with ; or \g.
Your MySQL connection id is 4
Server version: 5.7.21-0ubuntu0.16.04.1 (Ubuntu)

Copyright (c) 2000, 2018, Oracle and/or its affiliates. All rights reserved.

Oracle is a registered trademark of Oracle Corporation and/or its
affiliates. Other names may be trademarks of their respective
owners.

Type 'help;' or '\h' for help. Type '\c' to clear the current input statement.

mysql>
MySql から出る。
mysql> quit
Bye
こんな感じ
自動起動設定をする。
$ sudo sysv-rc-conf mysql on
確認
$ sudo sysv-rc-conf --list mysql
mysql        0:off	1:off	2:on	3:on	4:on	5:on	6:off
これで自動起動する。
結構簡単にインストールが終わりましたね。使いこなせるようになれば、かなり大きなデータも一瞬で「ぴゅっ」と料理してくれます。


コメント