とっても調子の良い WordPress テーマの Stinger。
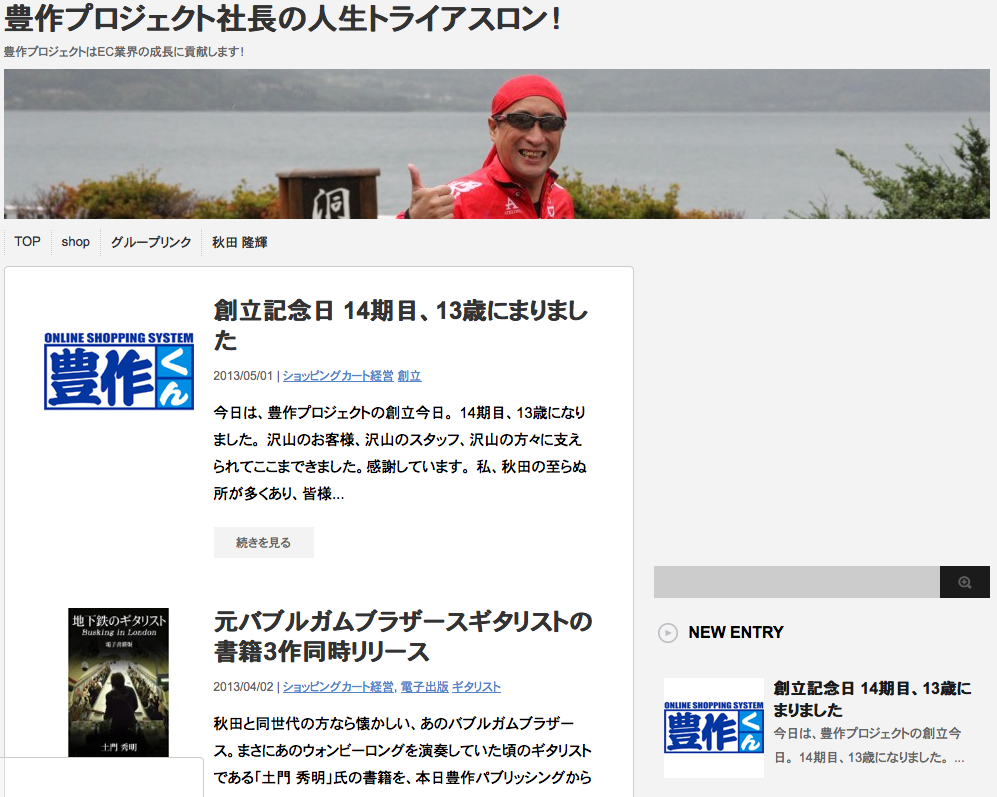
しかしアイキャッチを登録しなければならないので、記事中の1つ目の画像をサムネイルとして使うプログラムを用意しました。
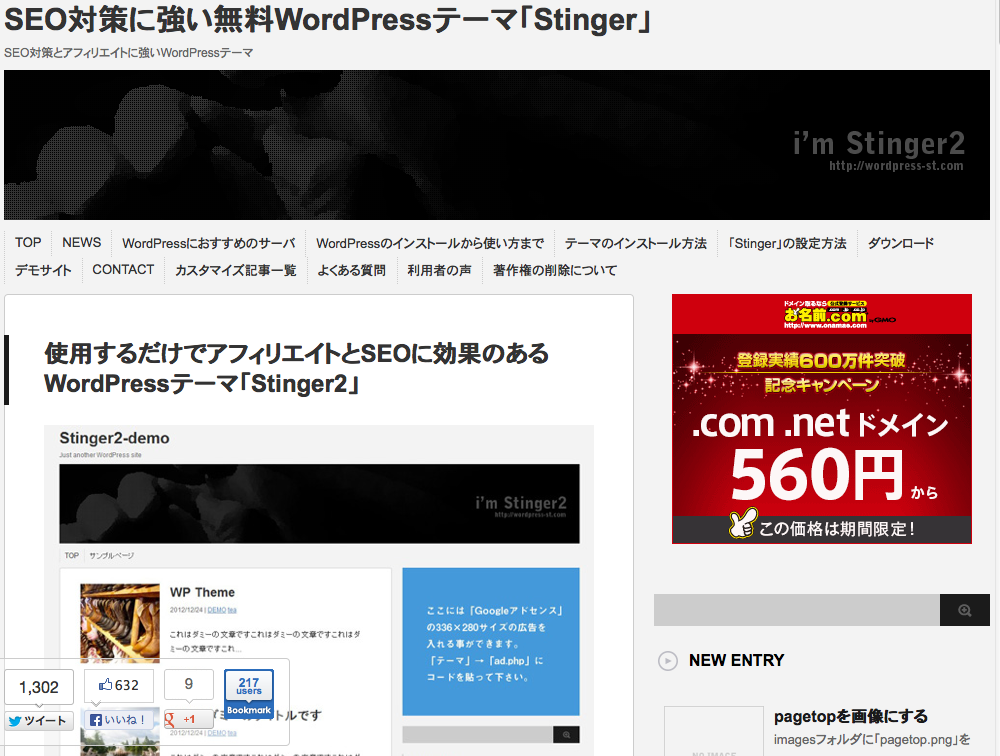
「WordPress STINGER3 を使っていてショートコードが見えちゃって嫌な場合の対処法(簡易版)」こちらのエントリーでも書きましたように、本ブログでも「SEO対策に強い無料WordPressテーマ「Stinger」」を有り難く使わせて頂いてます。
@ENJILOG さんに感謝です。
さてこの「Stinger」。とっても素晴らしいのですが、サムネイル表示がアイキャッチ登録をしていないと表示されません。これ迄にたっぷりと書き込んだブログ。運良くアイキャッチ登録をしていれば良いですが、そもそもアイキャッチってなんぞや?って事で登録をしていない方も多いかと。
秋田もこのブログは200エントリー程だったので頑張ってアイキャッチ登録をしたのですが、これが時間がかかってしょうがない。もう一つのブログに「Stinger」を充て込む際、流石にやってられないので、上記したように記事中の1つ目の画像をサムネイルとして使うプログラムを用意しました。
まずこちらのエントリーで紹介している「WordPress スマホ画面のカスタマイズ〜リストページにサムネイルを付ける」ソースコードを以下に変更し「functions.php」に書き入れます。
function akita_catch_that_image($content) {
    $first_img = '';
    ob_start();
    ob_end_clean();
    $output = preg_match_all('/<img.+src=[\'"]([^\'"]+)[\'"].*>/i', $content, $matches);
    $first_img = $matches [1] [0];

    if(empty($first_img)){ //Defines a default image
        $first_img = get_template_directory_uri()."/images/no-img.png";
    }
return $first_img;
}
次に各ファイルの各行を入れ替えます。
sidebar.php
<img src="<?php echo get_template_directory_uri(); ?>/images/no-img.png" alt="no image" title="no image" width="100" height="100" />
↓
<img src="<?php echo akita_catch_that_image($post->post_content); ?>" width="100" />
archive.php
<img src="<?php echo get_template_directory_uri(); ?>/images/no-img.png" alt="no image" title="no image" width="150" height="150" />
↓
<img src="<?php echo akita_catch_that_image($post->post_content); ?>" width="150" />
home.php
<img src="<?php echo get_template_directory_uri(); ?>/images/no-img.png" alt="no image" title="no image" width="150" height="150" />
↓
<img src="<?php echo akita_catch_that_image($post->post_content); ?>" width="150" />
single.php(2ヶ所あります)
<img src="<?php echo get_template_directory_uri(); ?>/images/no-img.png" alt="no image" title="no image" width="110px" />
↓
<img src="<?php echo akita_catch_that_image($post->post_content); ?>" width="110" />
これで完了です。
出来れば「/wp-content/themes/stinger3ver20130906/images/no-img.png」もお好みの物を用意し、差し替えるとよりいい感じになります。
お試し下さい。
コメント